


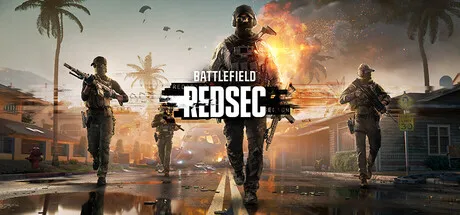
Battlefield™ REDSEC pushes the franchise into a bold new era of tactical warfare, asymmetric combat, and high-stakes infiltration. With dynamic battlegrounds, AI-influenced frontline shifts, and hacker-centric mechanics, players must adapt faster than ever to survive. This comprehensive guide breaks down essential strategies, timing-based decision making, and advanced techniques to elevate your performance—whether you’re fighting in open conflict or operating in the shadows as a REDSEC operative.
This guide is designed for both casual players and competitive squads who want to understand the deeper systems that define Battlefield REDSEC. By exploring movement, weapons, squad composition, hacking, objectives, resource control, and late-game tactics, you’ll gain the tools to outmaneuver opponents in every match. Let’s dive into the 10 core pillars of gameplay mastery.
1. Understanding REDSEC’s New Tactical Foundation
The Asymmetric Warfare System
REDSEC introduces a layered combat design where players must make decisions based on shifting intel, map states, and AI-controlled behavior. This system rewards early planning and constant adaptation rather than pure mechanical skill. The more you understand these layers, the more predictable enemy patterns will become.
Environmental Pressure and Player Flow
Battlefields now evolve in real time: collapsing buildings, power outages, drone sweeps, and weather anomalies all influence how teams move. Understanding these patterns lets you anticipate choke points and identify safer rotations. Spend your first few matches studying the environment rather than rushing engagements.
Key Points
- Always update your route every 30–60 seconds
- Predict environmental changes instead of reacting late
- Use elevation and lighting to break enemy sightlines
2. Mastering Class Synergy for Maximum Efficiency
Building the Ideal Squad
Choosing classes in REDSEC is more than picking favorite weapons—it’s about synergy. A balanced squad always includes one hacker, one assault, one recon, and one support to cover offense, recon, sustainability, and digital warfare.
H3: Role Overlap and Hybrid Builds
Hybrid builds allow players to mix equipment from different classes, creating flexible specialists like stealth-assaults or medic-hackers. These hybrids can dramatically alter mid-match strategies when used correctly.
H4: Essential Team Compositions
- Control Squad: Hacker, Recon, Support, Support
- Aggressive Push Squad: Assault, Assault, Recon, Support
- Stealth Strike Team: Hacker, Recon, Recon, Assault
3. Weapon Optimization and Battlefield Adaptation
Learning Recoil Patterns
Every firearm in REDSEC has recoil influenced by wind, stance, attachments, and even environmental destruction. Spend time in training to learn tap-firing techniques and compensating angles.
Adapting to Battlefield Conditions
Weapons behave differently in sandstorms, rain, and snowy conditions. Snipers struggle in windy zones, while shotguns shine when visibility drops. Carry a backup weapon suited for sudden environmental shifts.
Useful Tips
- Attach recoil dampeners for long-range maps
- Optics with fog resistance improve visibility
- Shotguns excel when power grids fail and maps dim
4. Movement, Positioning, and Survival Techniques
Mastering Advanced Movement
Movement in REDSEC rewards creativity. Slide-vaulting, momentum jumps, and corner slicing reduce your hitbox exposure. Practice chaining movements to dodge bullets efficiently.
Smart Positioning
Good positioning wins fights before they start. High ground is beneficial, but only when paired with proper cover. Avoid wide or brightly lit areas where drones can easily highlight your silhouette.
Survival Checklist
- Move every 3–5 seconds in combat zones
- Never peak from the same angle twice
- Use shadows to break drone line-of-sight
5. The Power of Hacking: REDSEC’s Signature Mechanic
Offensive Hacking
Hacking enemy drones, gates, comm towers, and HUDs creates chaos on the battlefield. Offensive hackers can temporarily blind entire squads or lock doors behind retreating enemies.
Defensive Hacking
Supportive hacking protects your team by strengthening firewalls or stabilizing communication uplinks. Mastering defensive hacking ensures your squad is never left without intel.
Major Hackable Targets
- Comm Relays: Disrupts enemy radar
- Power Nodes: Shuts off lighting
- Defense Turrets: Can be turned hostile
- Camera Grids: Reveals enemy rotations
6. Objective Control and Map Domination
Playing for the Objective
REDSEC rewards smart objective play more than pure elimination. Many strongholds require coordinated class synergy to capture efficiently. Always approach objectives with a plan.
Rotations and Timing
Rotate before the enemy pushes. Smart rotation saves resources and avoids unnecessary firefights. Use recon drones to predict the enemy’s next target.
Objective Tips
- Avoid approaching from the most obvious route
- Split push to create confusion
- Use hackers to unlock shortcuts and bypass chokepoints
7. Resource Management and Supply Economy
Understanding the Supply Layer
Supply drops, ammo crates, battery packs, and hacking nodes significantly impact mid-game strength. Controlling these resources is often more important than capturing an objective.
Energy & Battery Economy
Many high-value gadgets depend on battery consumption. Managing these charges ensures continued access to drone support, hacking abilities, and deployable utilities.
Supplies to Prioritize
- Drone battery packs
- Armor plates
- Emergency medkits
- Signal boosters for recon
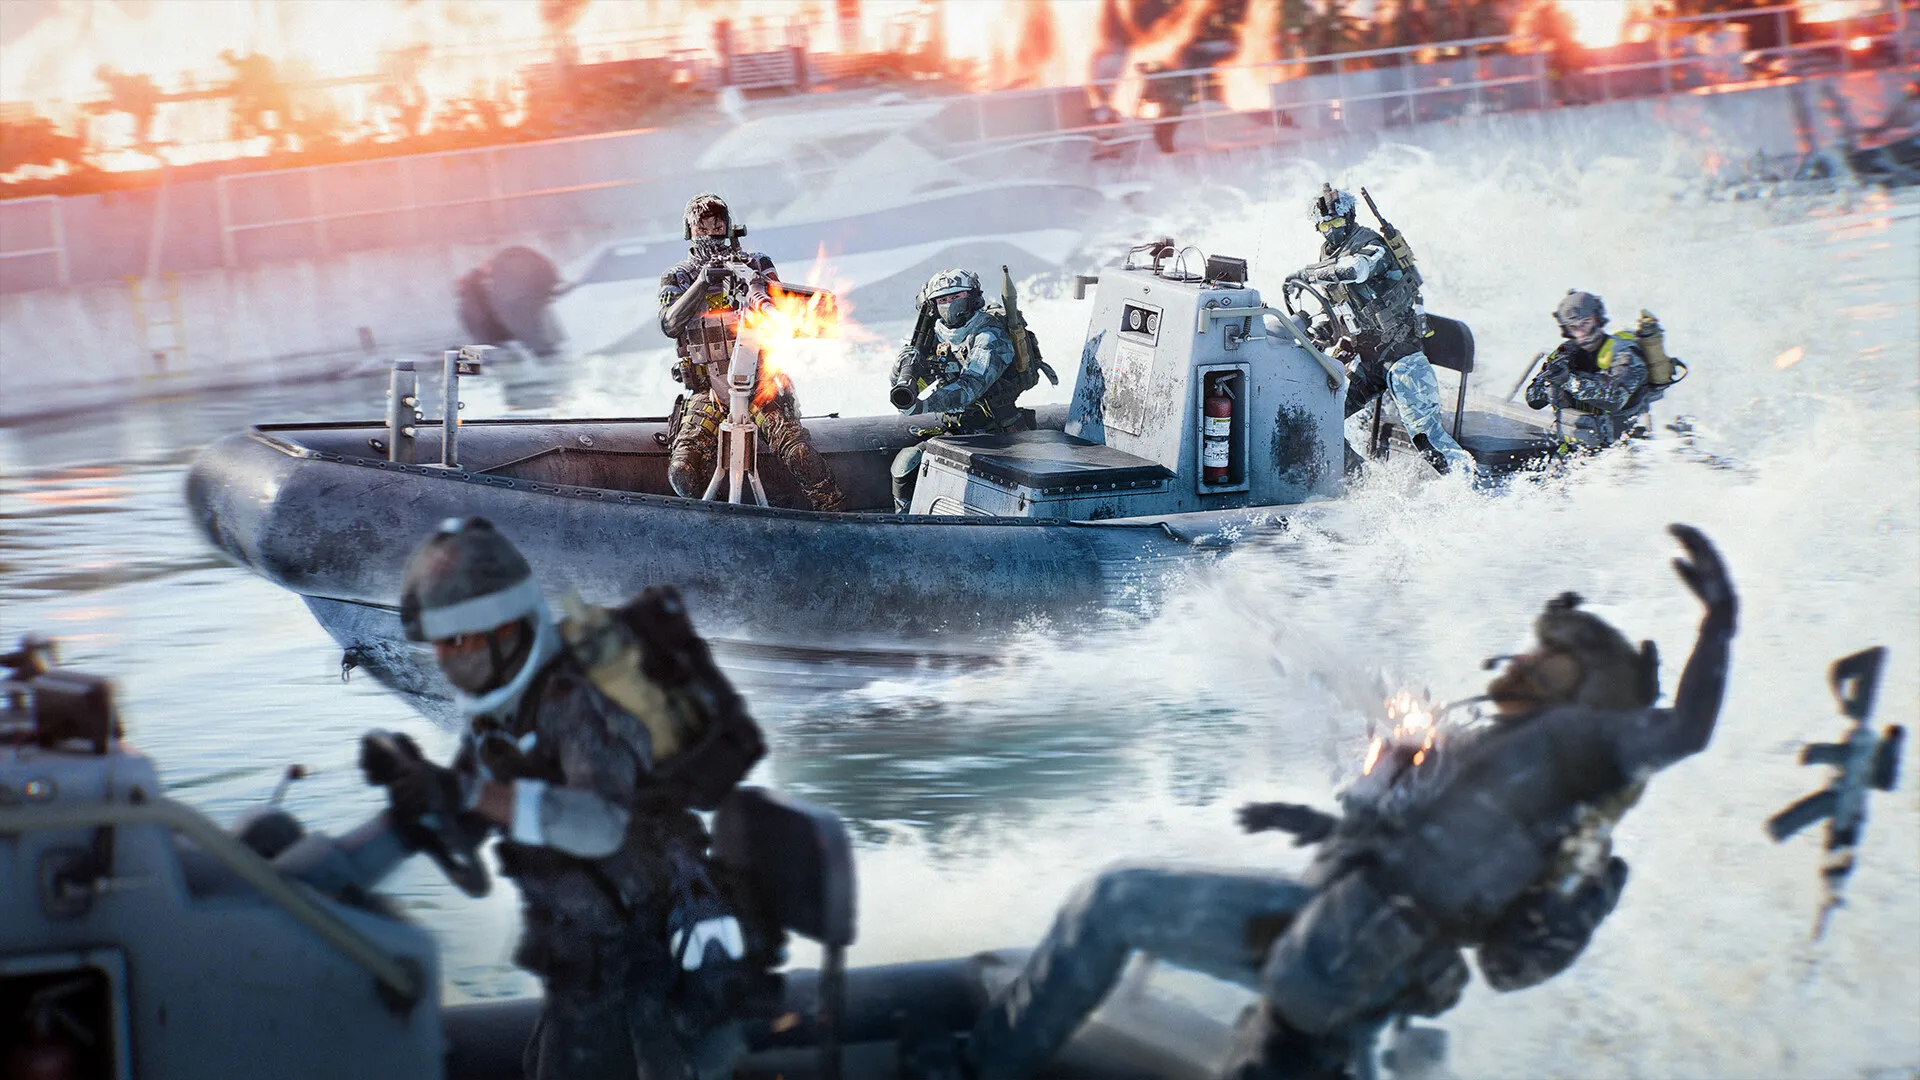
8. Vehicles, Drones, and Heavy Support
Vehicle Mastery
Tanks, hovercrafts, and armored drones provide tremendous firepower—but they are vulnerable to hackers. Never stay stationary in a vehicle for more than a few seconds.
Drone Warfare
Drones are a defining feature of REDSEC. Their uses range from surveillance to EMP strikes. Recon players must learn angles that offer maximum map coverage without exposing their drones to counter-hacking.
Best Practices
- Keep vehicles away from power nodes
- Rotate drones constantly to avoid being hijacked
- Pair vehicles with support players for ammo and repairs

9. Advanced Squad Communication and Strategic Coordination
Effective Communication
Success in REDSEC heavily depends on squad communication. Short, clear callouts outperform long explanations. Use directional terms, enemy pings, and timed signals.
Micro-Tactics and Macro-Tactics
Micro tactics include corner clearing and push timing, while macro tactics involve zone control, predicting enemy movement, and coordinating full-map rotations.
Helpful Callout Structure
- Location: Where the enemy is
- Action: What they’re doing
- Intent: What your squad should do next
10. Late-Game Strategy and End-Match Execution
Final Circle Mayhem
Late-game zones shrink rapidly, forcing players into chaotic scenarios. Surviving requires resource conservation, smart utilities, and precise positioning.
Pressure, Noise, and Misdirection
Late-game battles reward deception. Use noise—like thrown gadgets or hacked speakers—to distract and redirect enemies. Force them into bad positions before striking.
Winning the Final Fight
- Hold cover with multiple exit routes
- Save at least one battery pack for a last-minute hack
- Force enemy squads into crossfire zones
Conclusion
Battlefield™ REDSEC redefines tactical gameplay with hacking, dynamic environments, class synergies, and layered strategic depth. To succeed, players must master movement, communication, objective control, and the smart use of resources. Whether you prefer direct firefights, covert infiltration, or digital warfare, REDSEC’s sandbox gives you endless opportunities to outthink and outplay your opponents. With these tips and guides, you’re equipped to rise above the chaos and lead your squad to victory.